Instructions to Set Border Color
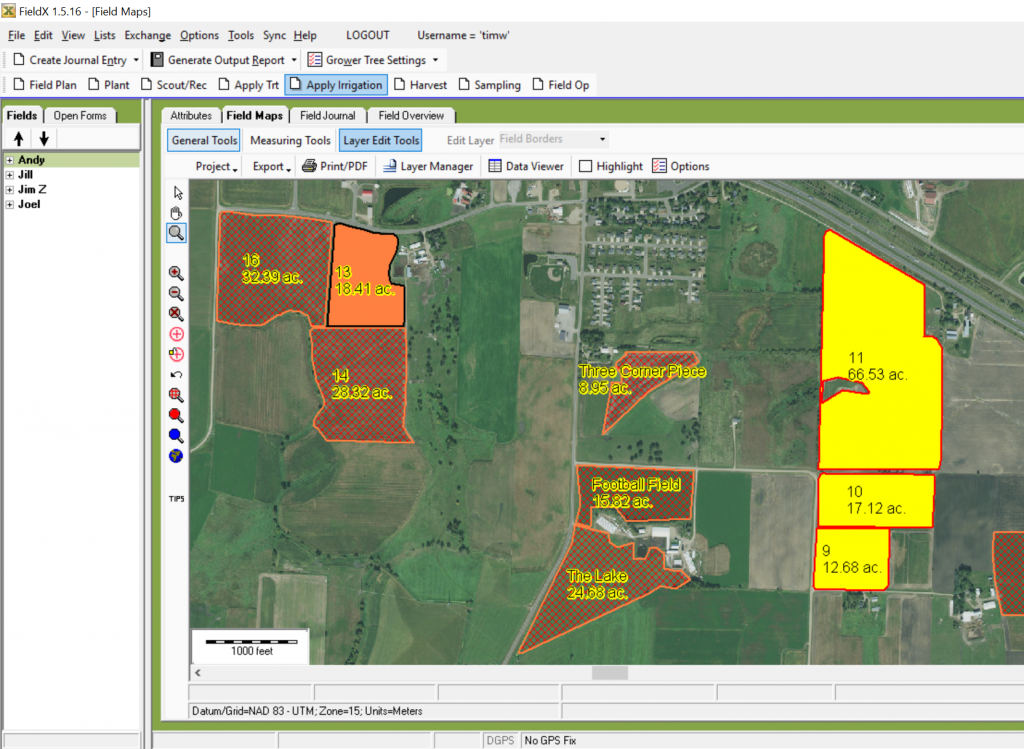
- Click on the ‘Field Maps’ tab.
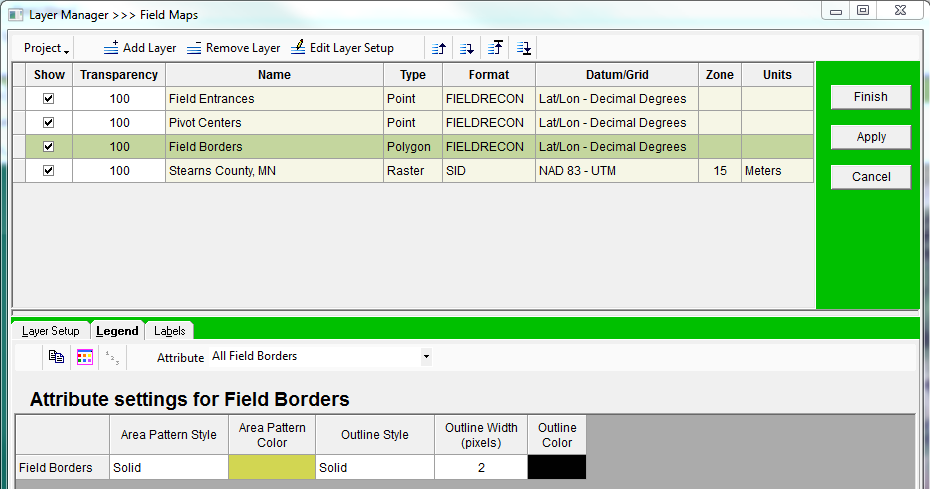
- Open ‘General Tools’, then ‘Layer Manager’.
- Select Field Borders.
- To change the settings for the map color:
- Click on the ‘Legend’ tab.
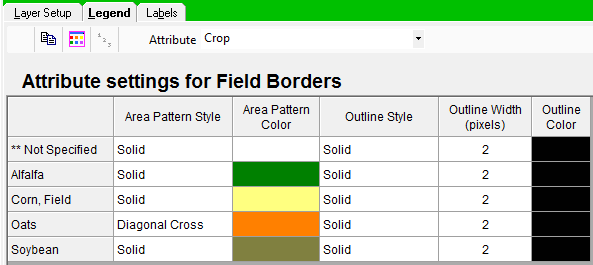
- Select the ‘Attribute’ to set colors based on.
- Select the ‘Area Pattern’ from the dropdown menu. This includes a range of options from transparent, to solid, with a variety of line patterns as options as well.
- Select the ‘Area Color’ by first clicking on the ‘…’ button, and then selecting a color from the palette that opens. Press ‘OK’ when finished selecting a color.
- If the color you want is not available in the window, a new color can be added using the Hugh Lat Sum scores or the Red Green Blue (RGB) scores on the lower- right.
- These are saved for future selection in the Custom Colors palette below the main grid of colors.
- Select an ‘Outline Style’ from the drop-down menu, which includes combinations of solid lines, dashed, lines, and dotted lines.
- Select the ‘Outline Width’ in pixels by doubleclicking on the cell then typing a new number in. A higher number for the width indicates a thicker line.
- Select an ‘Outline Color’ by following the same instructions as the ‘Area Color.’
For Example:
If you would like to assign colors for a variety or crop technology. You could set the interior of a field border to indicate the crop by manually selecting the same color and pattern style for the crop, then select an outline color to correspond to a variety’s crop technology. This can be done in the user’s preferred method to indicate the desired information.
**Note that this setting does not sync between installations of FieldX Office, and would need to be set up on each computer in an account.


