Resources
Scouting Crops with the Journal App
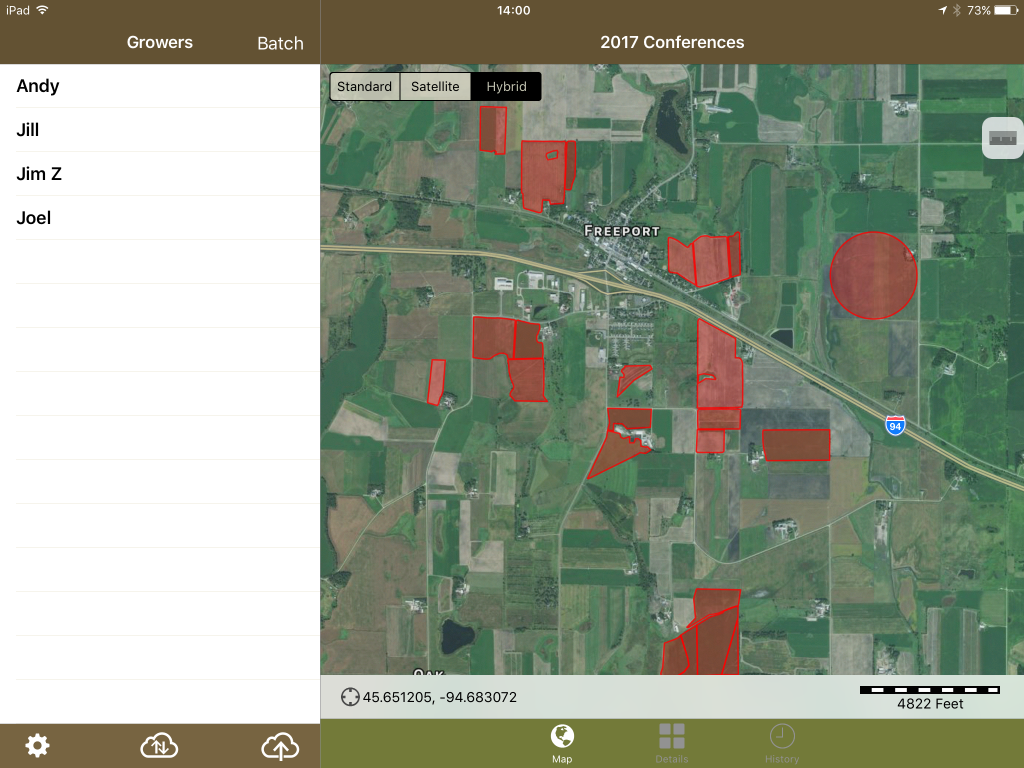
Selecting Fields
- Select your field in one of the following ways:
- Add data to an individual field by tapping on the Grower, Farm, and field from the list, or by tapping the field border.
- Turn on Batch Mode’, then select multiple fields. <More Details>
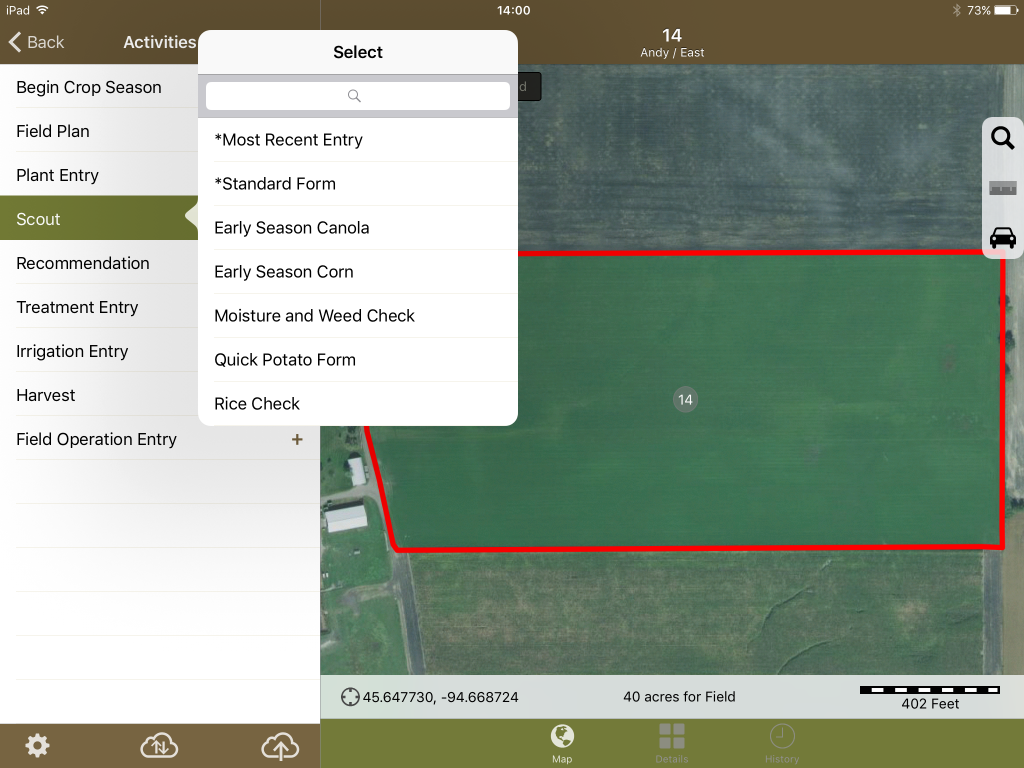
- Select ‘Scouting’ from the list of journal entry types.
- Then you can select a template.
- *Most Recent Entry pre-fills today’s journal entry with the prior journal scouting entry’s observations.
- *Standard form opens a data entry form with no data pre-filled and the default list of data fields.
- If organization templates are created, they will be displayed here. Tap on the text field above the list of template names to search through the list.
Entering Data
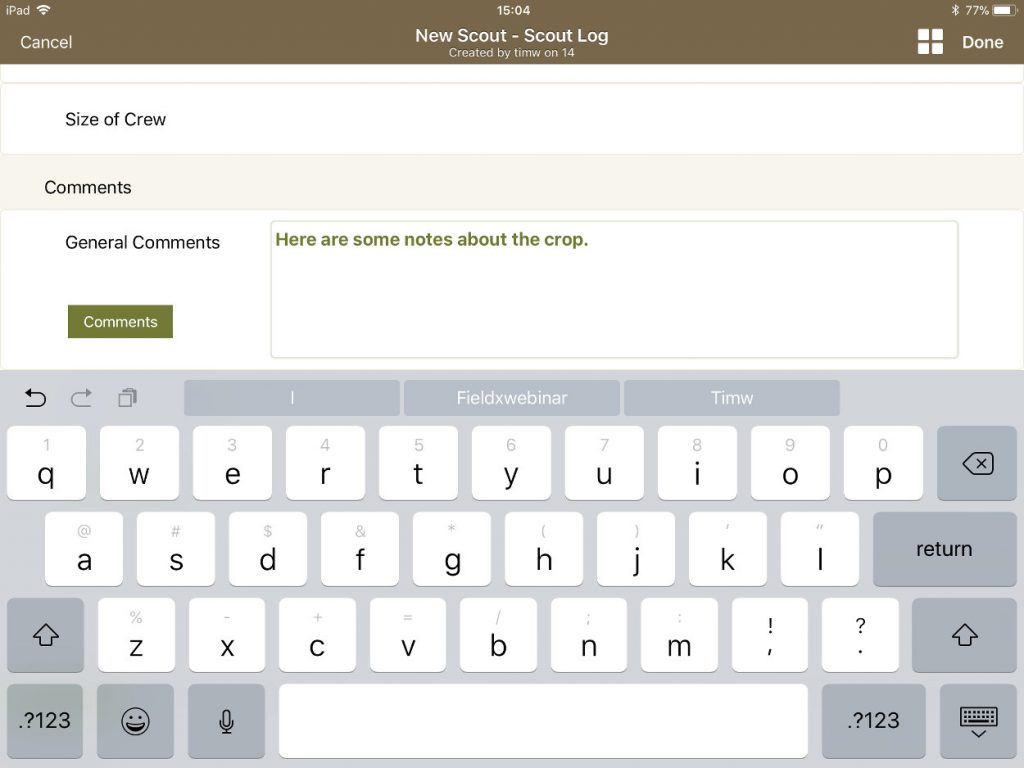
- Fill in your information. Navigate through the forms using the tabs on the left side of the screen.
- For comments data fields, such as the General Comments in the Log tab, you can tap on the microphone icon to use the iPad’s voice-to-text feature to type out your comments.
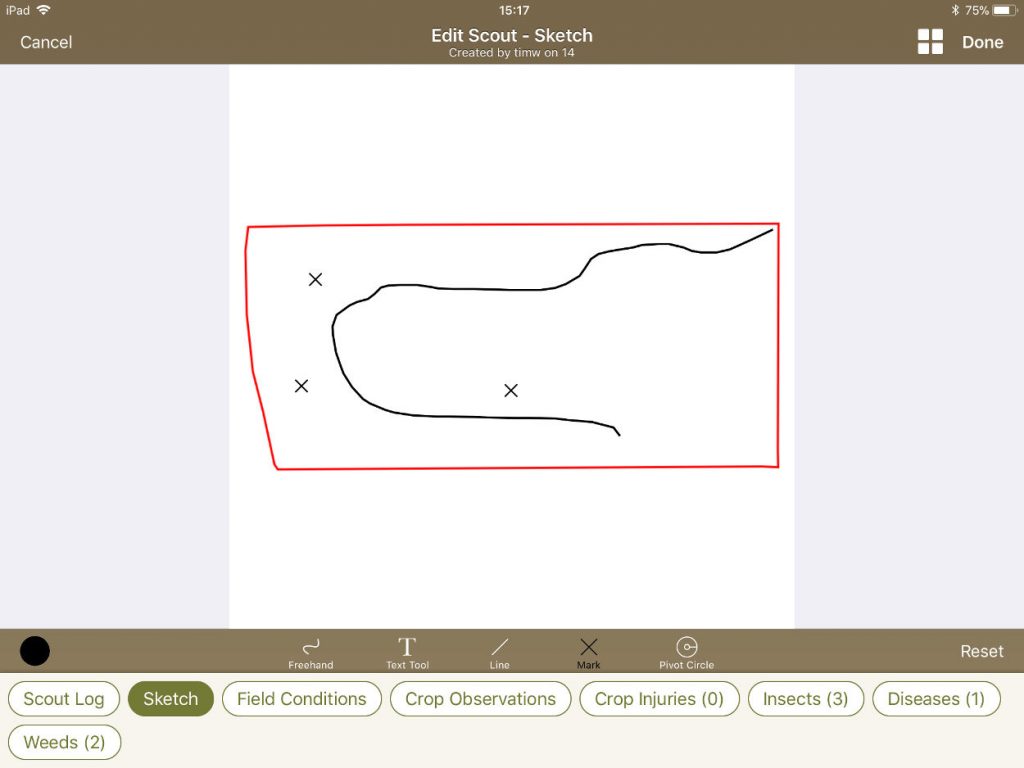
- The Sketch tab is filled in with an image of the field border, with tools across the bottom to mark areas of interest in a field.
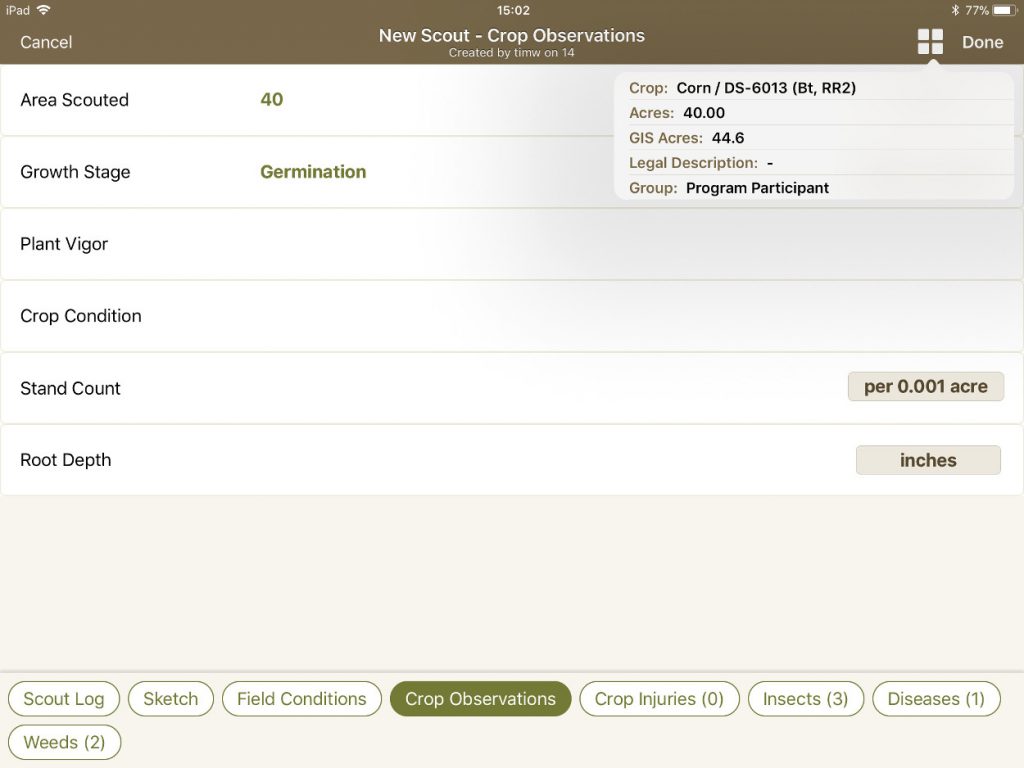
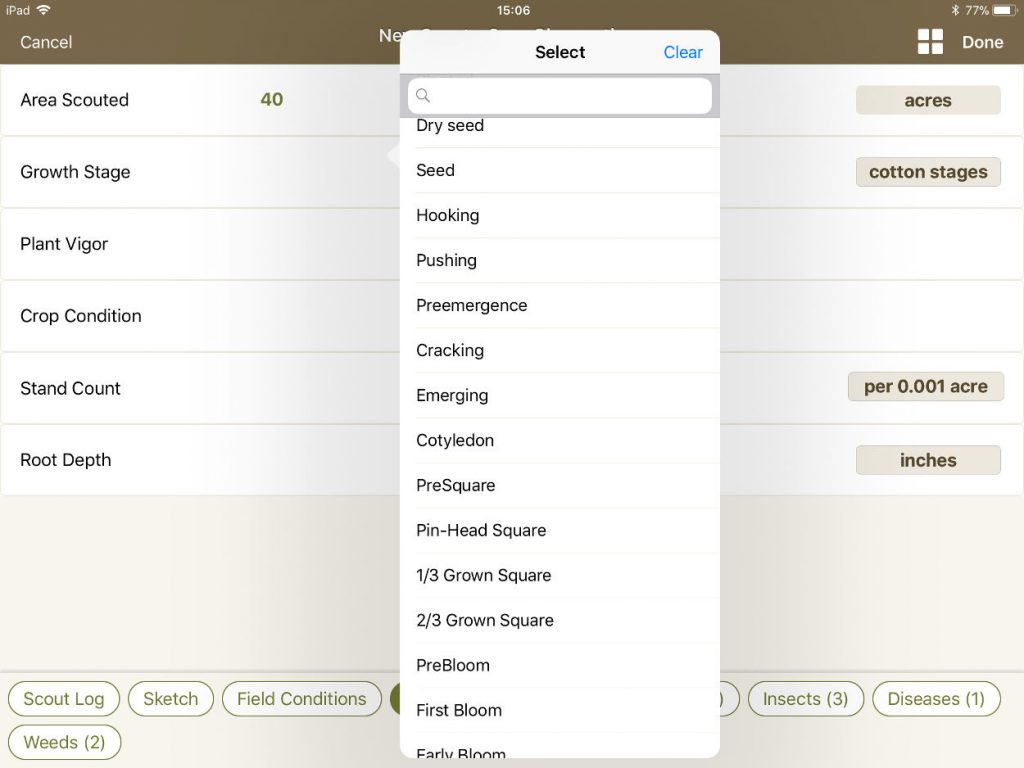
- The Field Observations form includes environmental data fields, and Crop Observations includes data fields for crop details. These can be selected selected in the journal entry template.
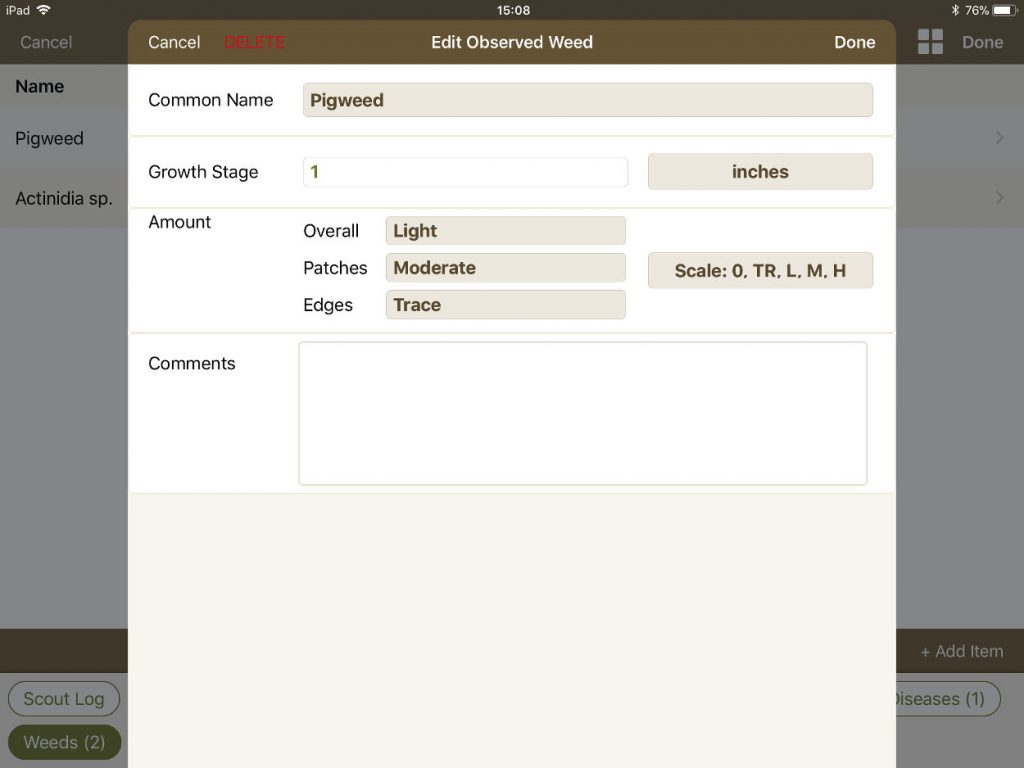
- In the Crop Injuries, Insects, Weeds, and Disease tabs:
- If an item was pre-filled in the template, you can tap on it on the top half of the screen to add in the details.
- If an item is in the field but not in your template, you can tap ‘+Add Item’ to add it to the journal entry.
- When finished, tap ‘Done’.
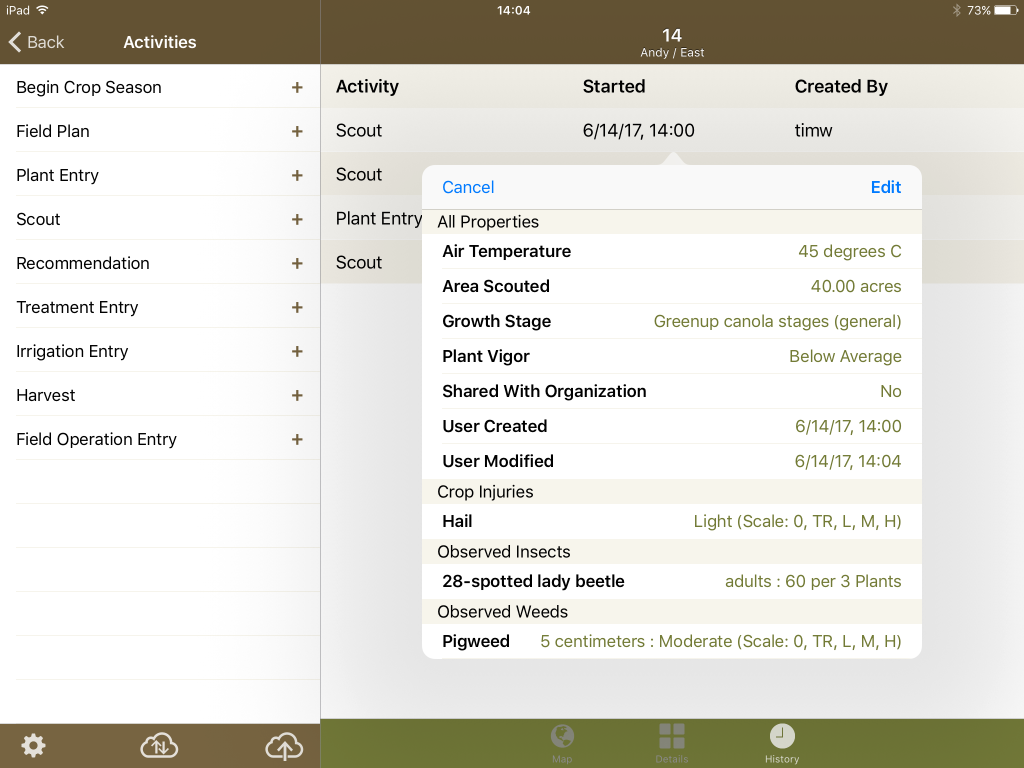
Reviewing Data
- To review your data, tap on the ‘History’ tab, then tap on the Journal entry to view the Quick-View.
- You can click ‘Edit’ to re-open the journal entry if you need to make changes.
- Then tap on the Upload button (cloud with up arrow), or the Full Sync button (cloud with up+down arrow) to send your data to the server.
- Now that your scouting data is collected, you are can move on to creating your recommendation or sending a PDF report from Journal.
Additional tips:
If you are holding the app in Portrait mode, you can expose the Field list in the top-left by tapping on the list icon.
Inside the journal entry, tap on the arrow icon to expose or hide the journal entry tabs.