Selecting Fields
- Select your field in one of the following ways:
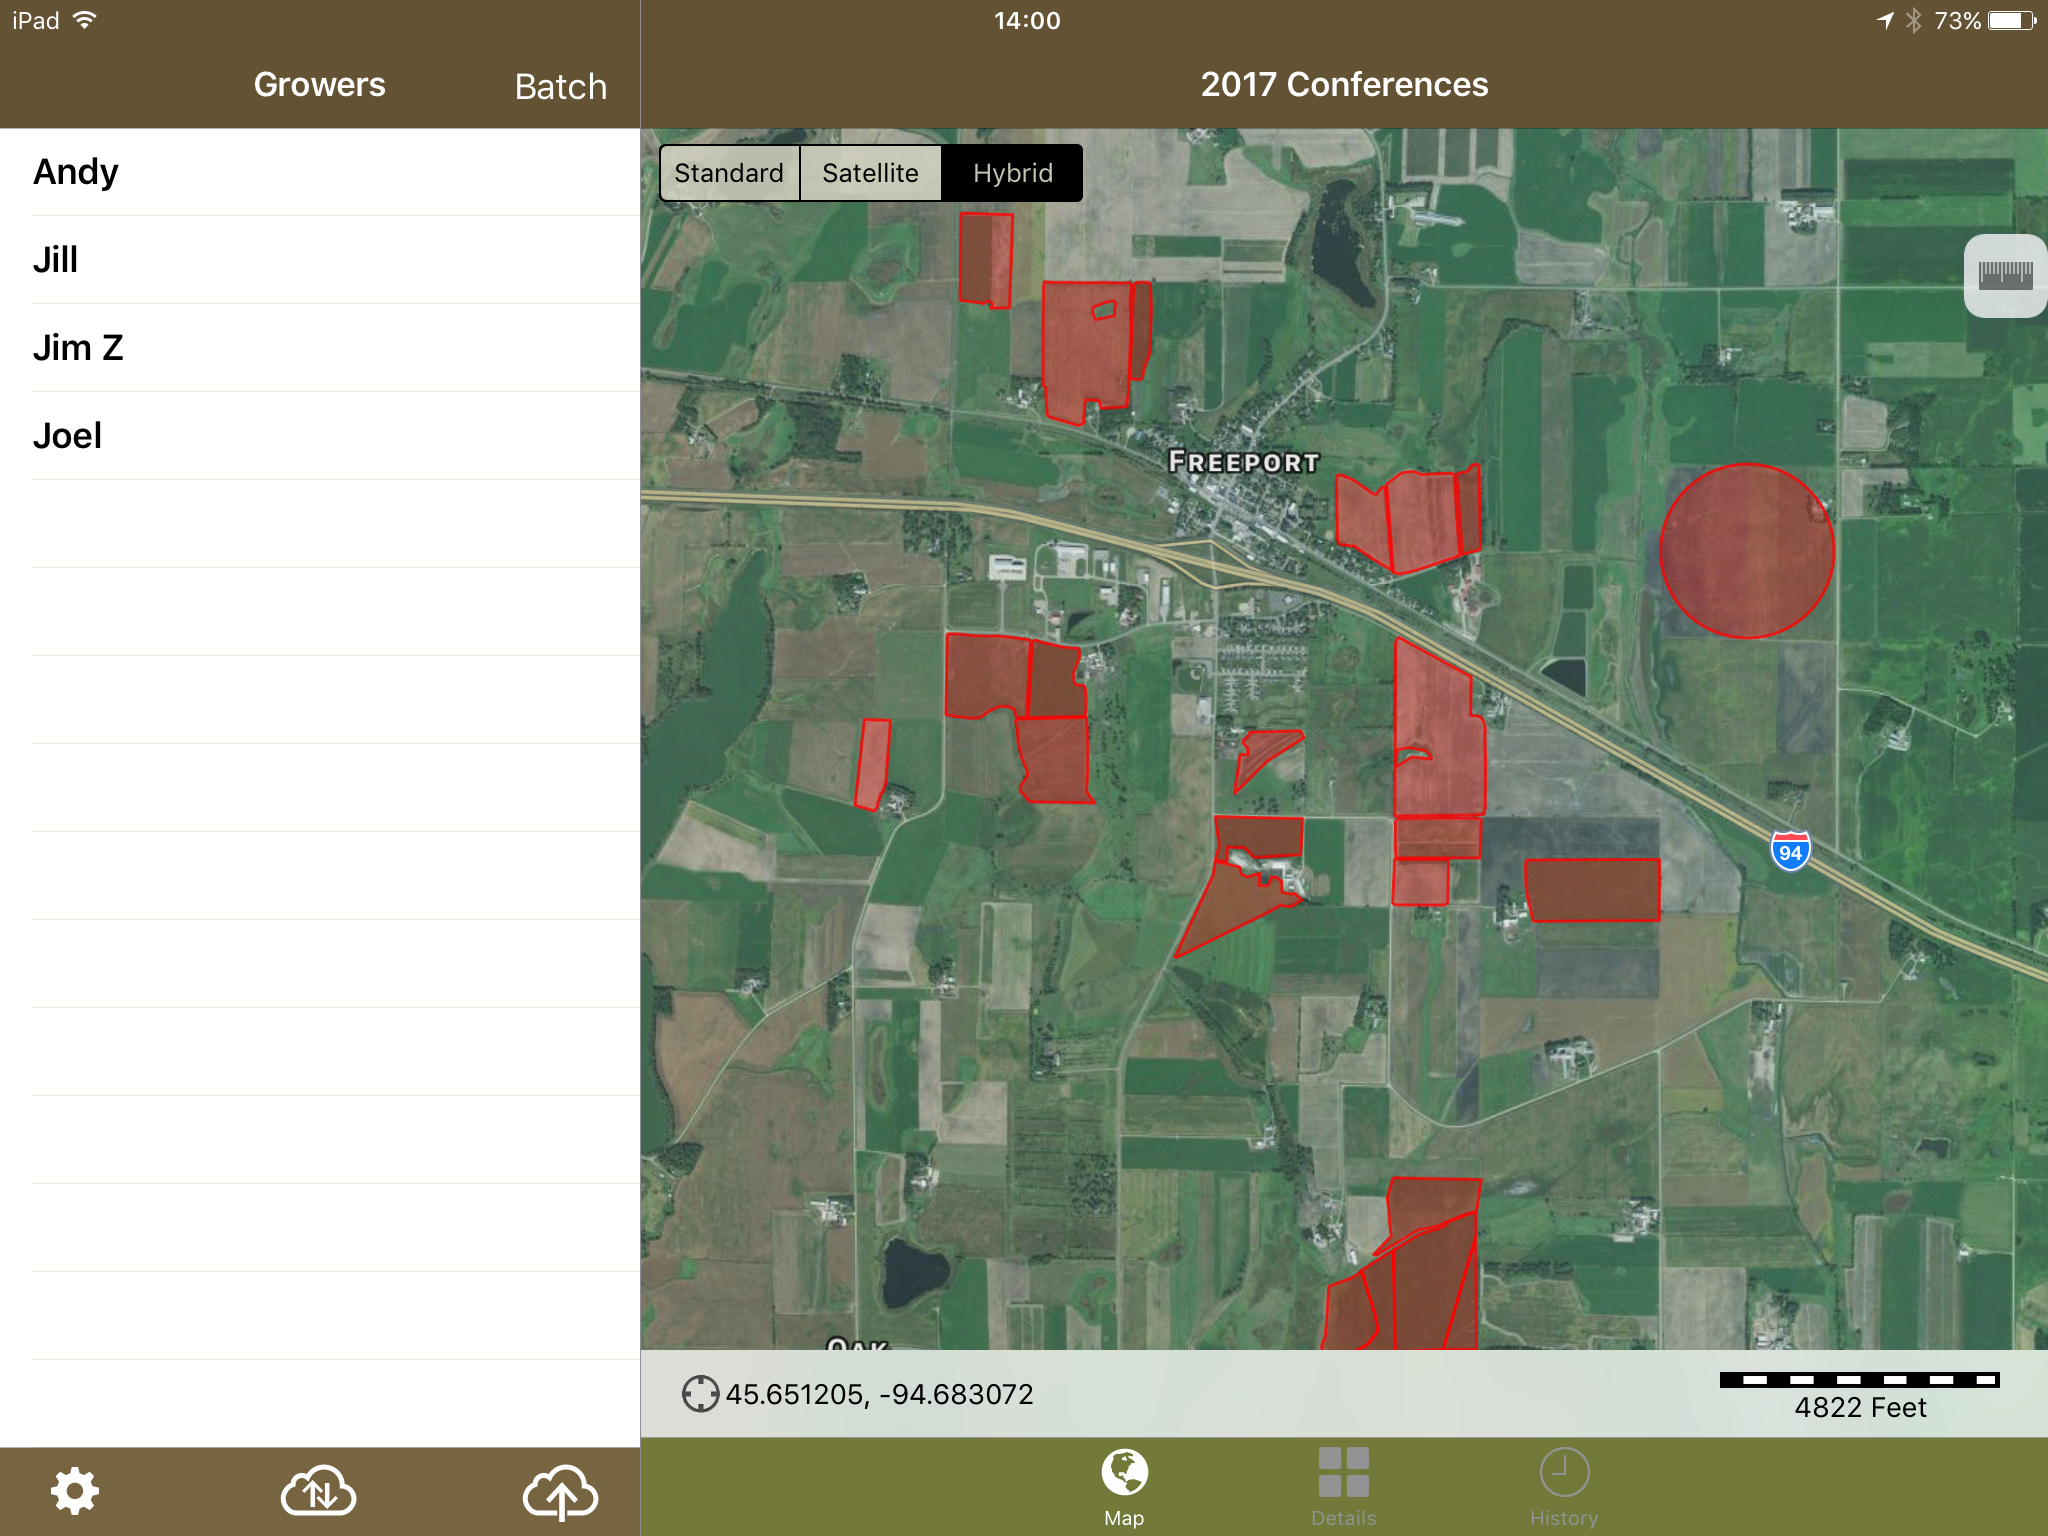
- Add data to an individual field by tapping on the Grower, Farm, and field from the list, or by tapping the field border.
- Turn on Batch Mode’, then select multiple fields. <More Details>
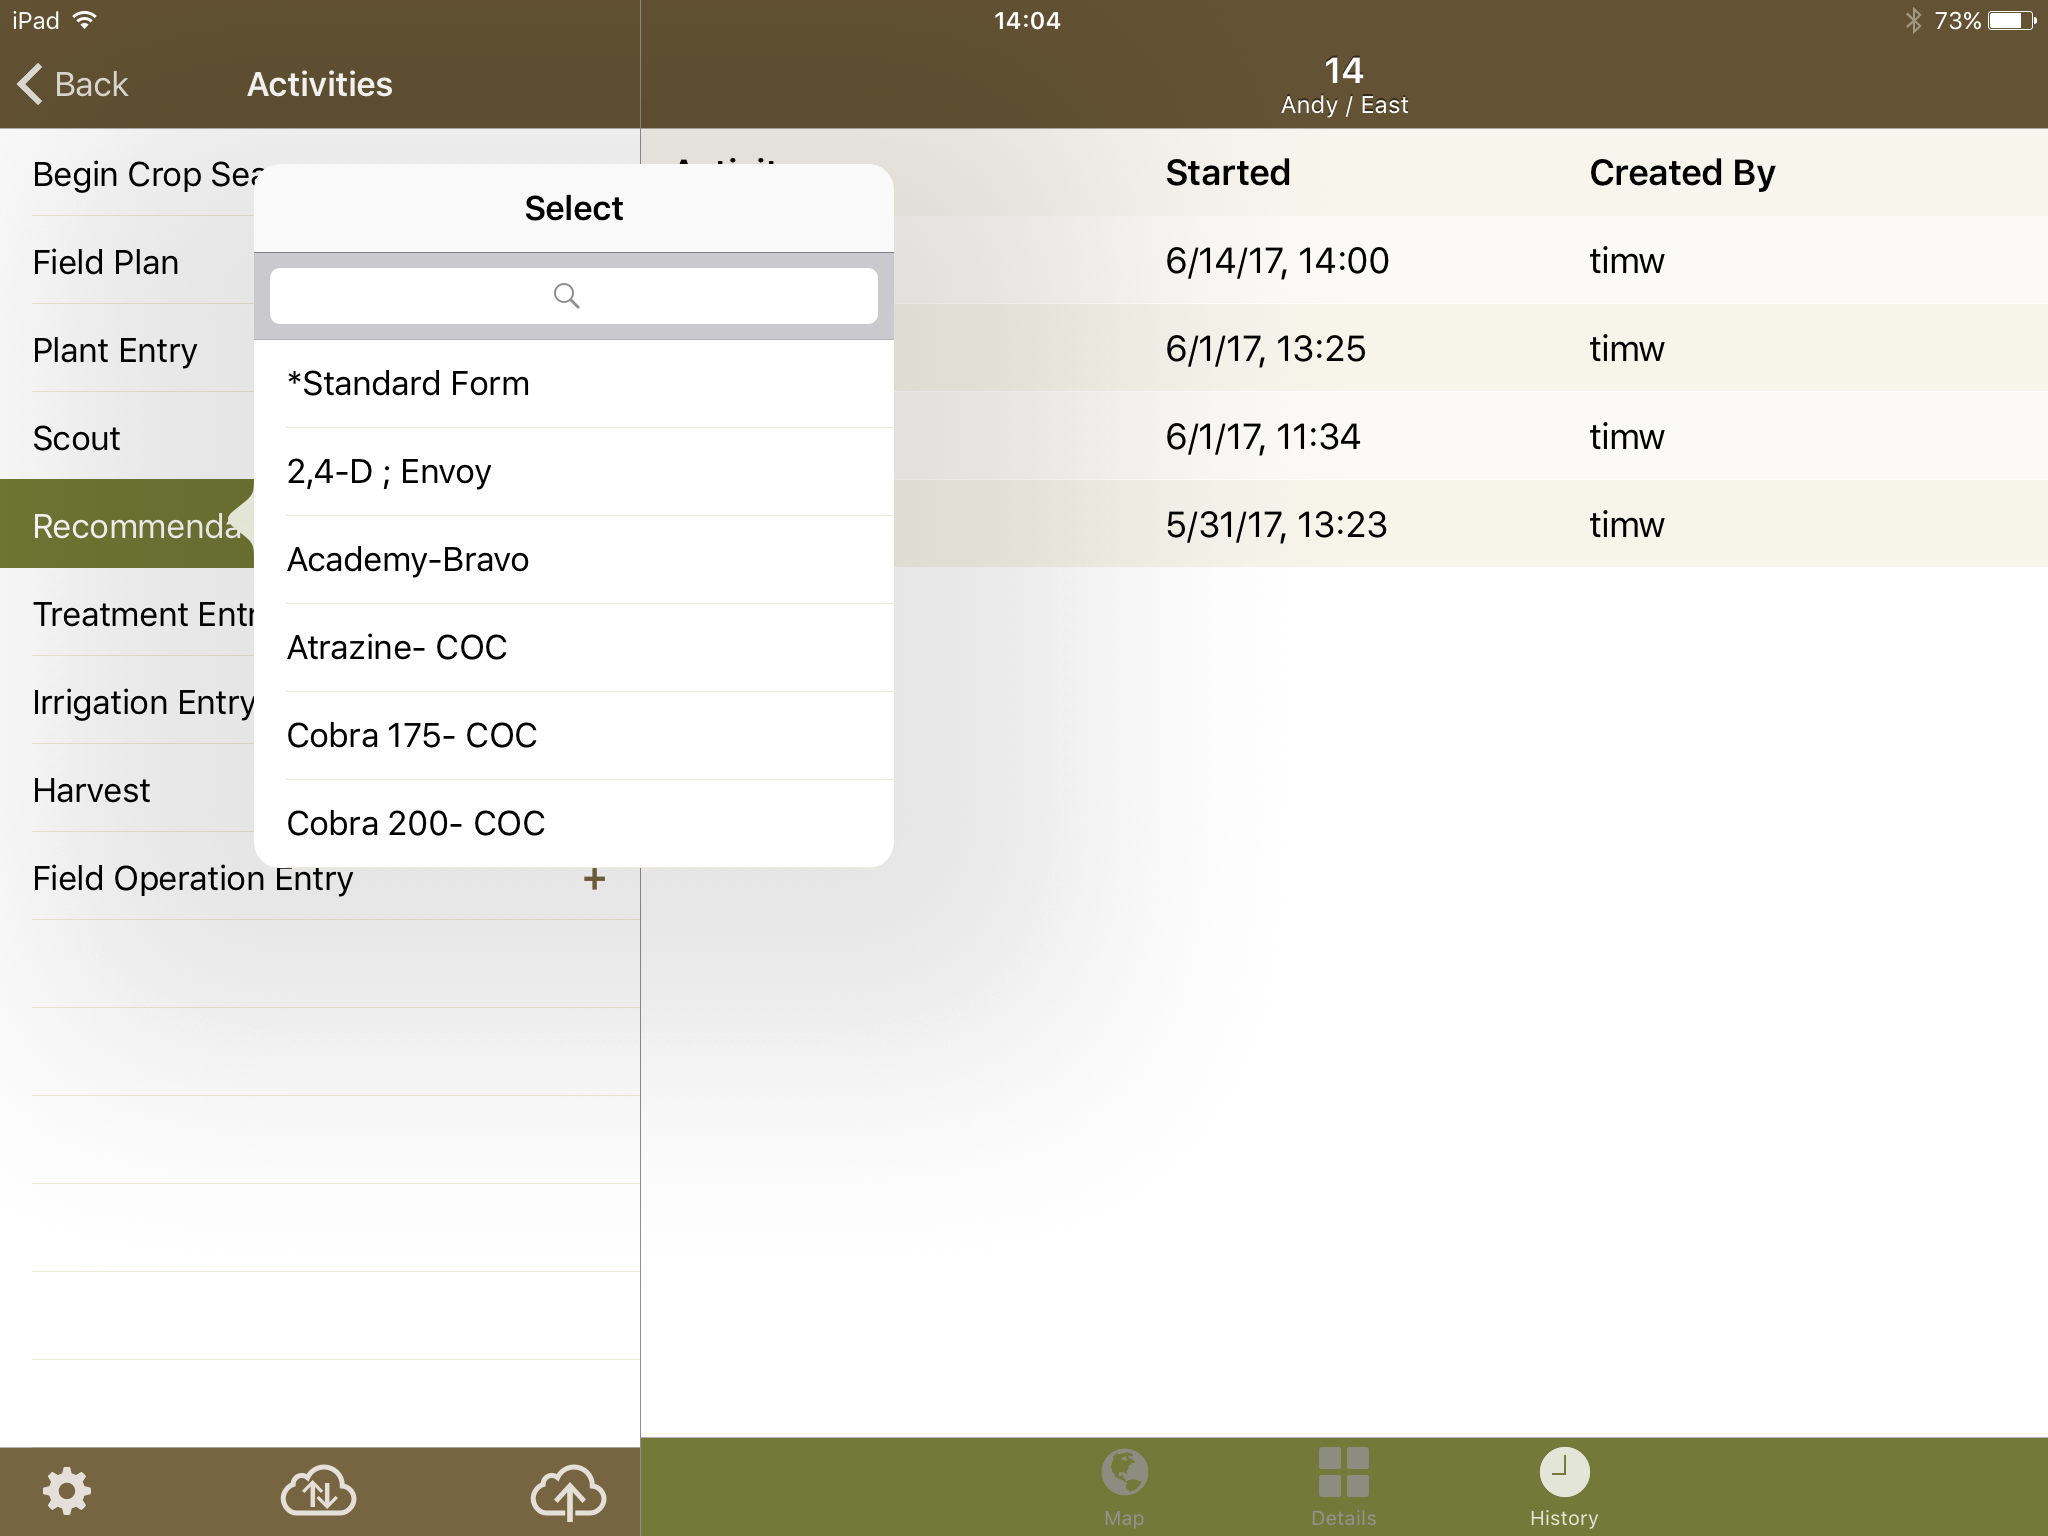
- Select ‘Recommendation’ from the list of journal entry types.
- Then you can select a template.
- *Most Recent Entry pre-fills today’s journal entry with the previous recommendation entry.
- *Standard form opens a data entry form with no data pre-filled and the default list of data fields.
- If organization templates are created, they will be displayed here. Tap on the text field above the list of template names to search through the list.
Entering Data
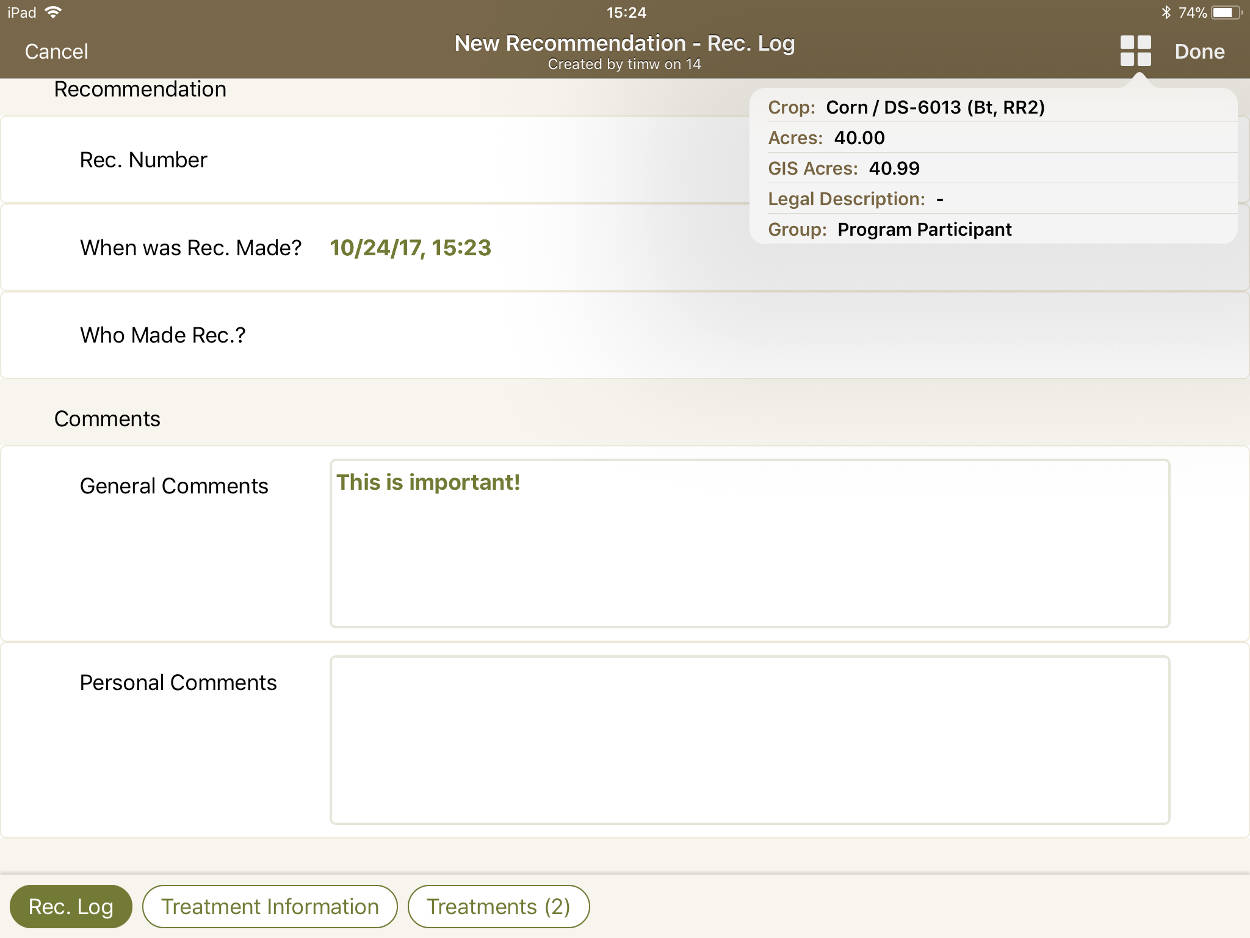
- Fill in your data. Navigate through the forms using the tabs on the left side of the screen. Tap on the list icon above the form at any time to view the crop planted in the field.
- The ‘Log’ tab includes high-level details of the treatment event, including the date started and completed, Status, and comments.
- For comments data fields, such as the General Comments in the Log tab, type the information in directly, tap on the microphone icon to use the iPad’s voice-to-text feature to record your comments.
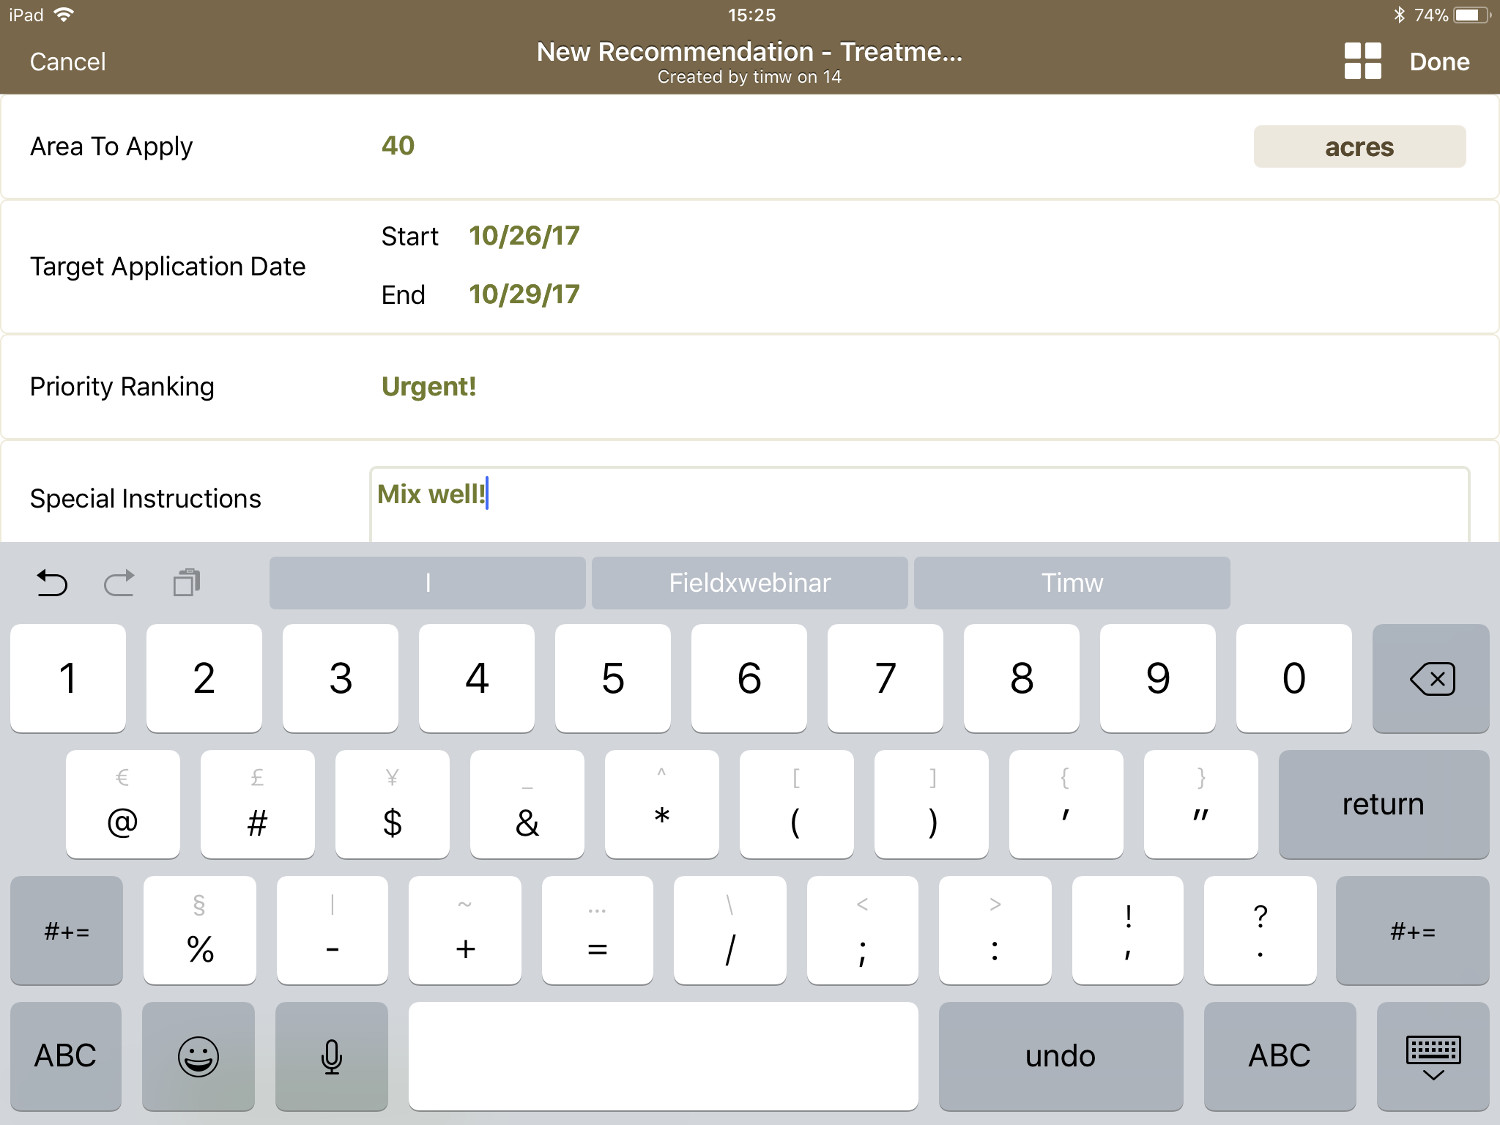
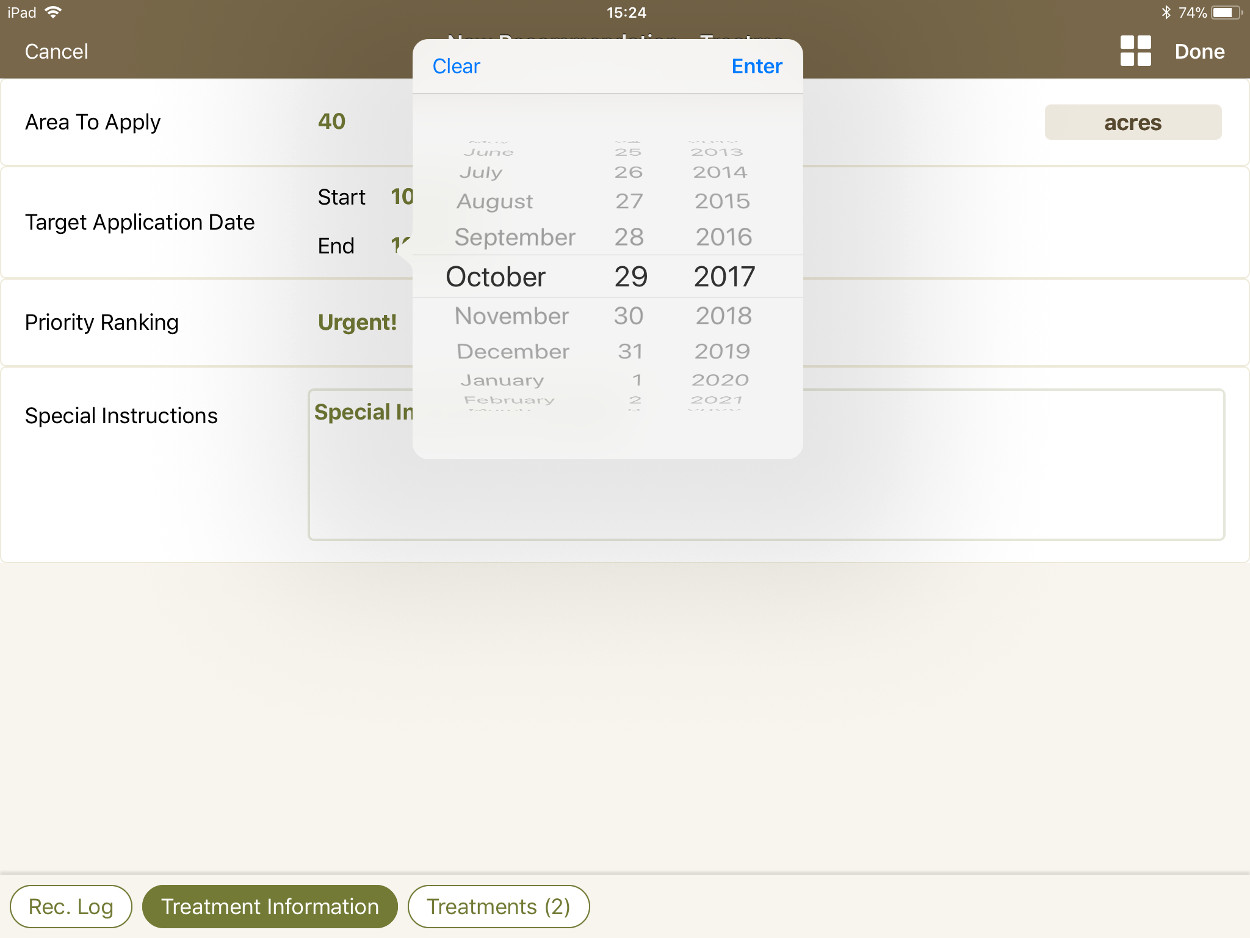
- The Treatment Information tab is used to fill in the treatment details needed for your records, including wind speed, rainfall, crop condition, and nozzle type.
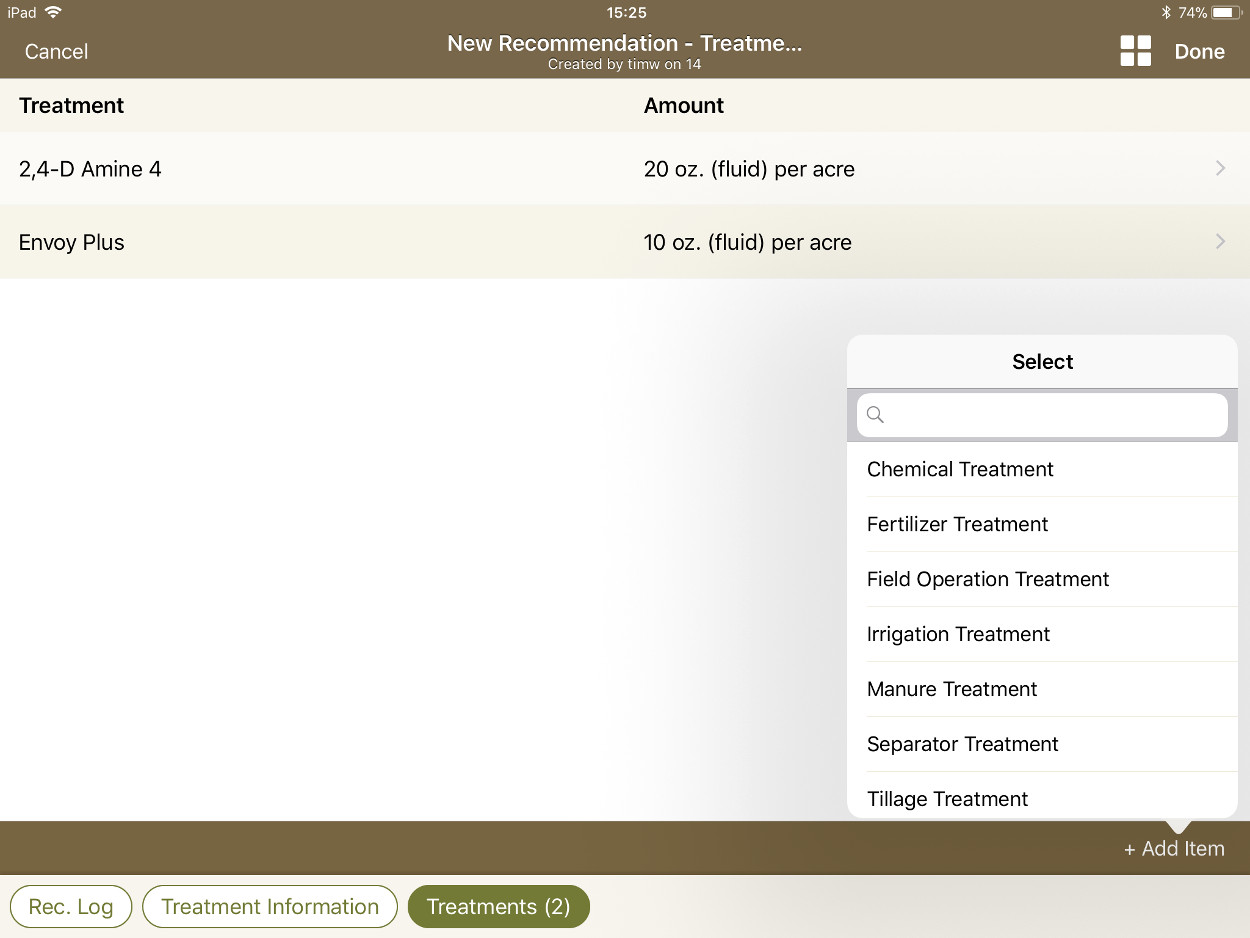
- The Treatments tab lists the treatment details. This includes the treatment details, rate, application method, and comments.
- If an item was pre-filled in the template, you can tap on it on the top half of the screen to add in the details.
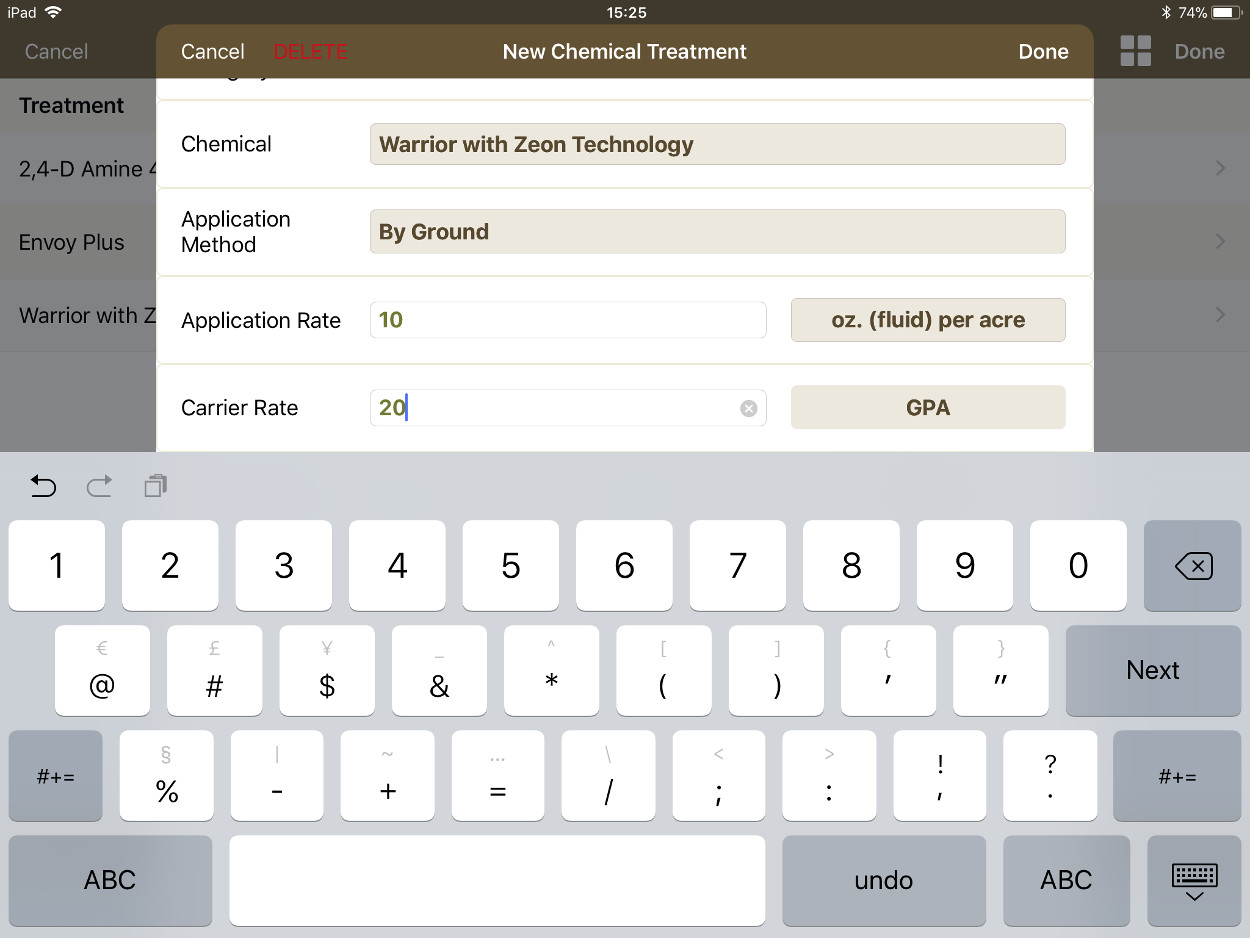
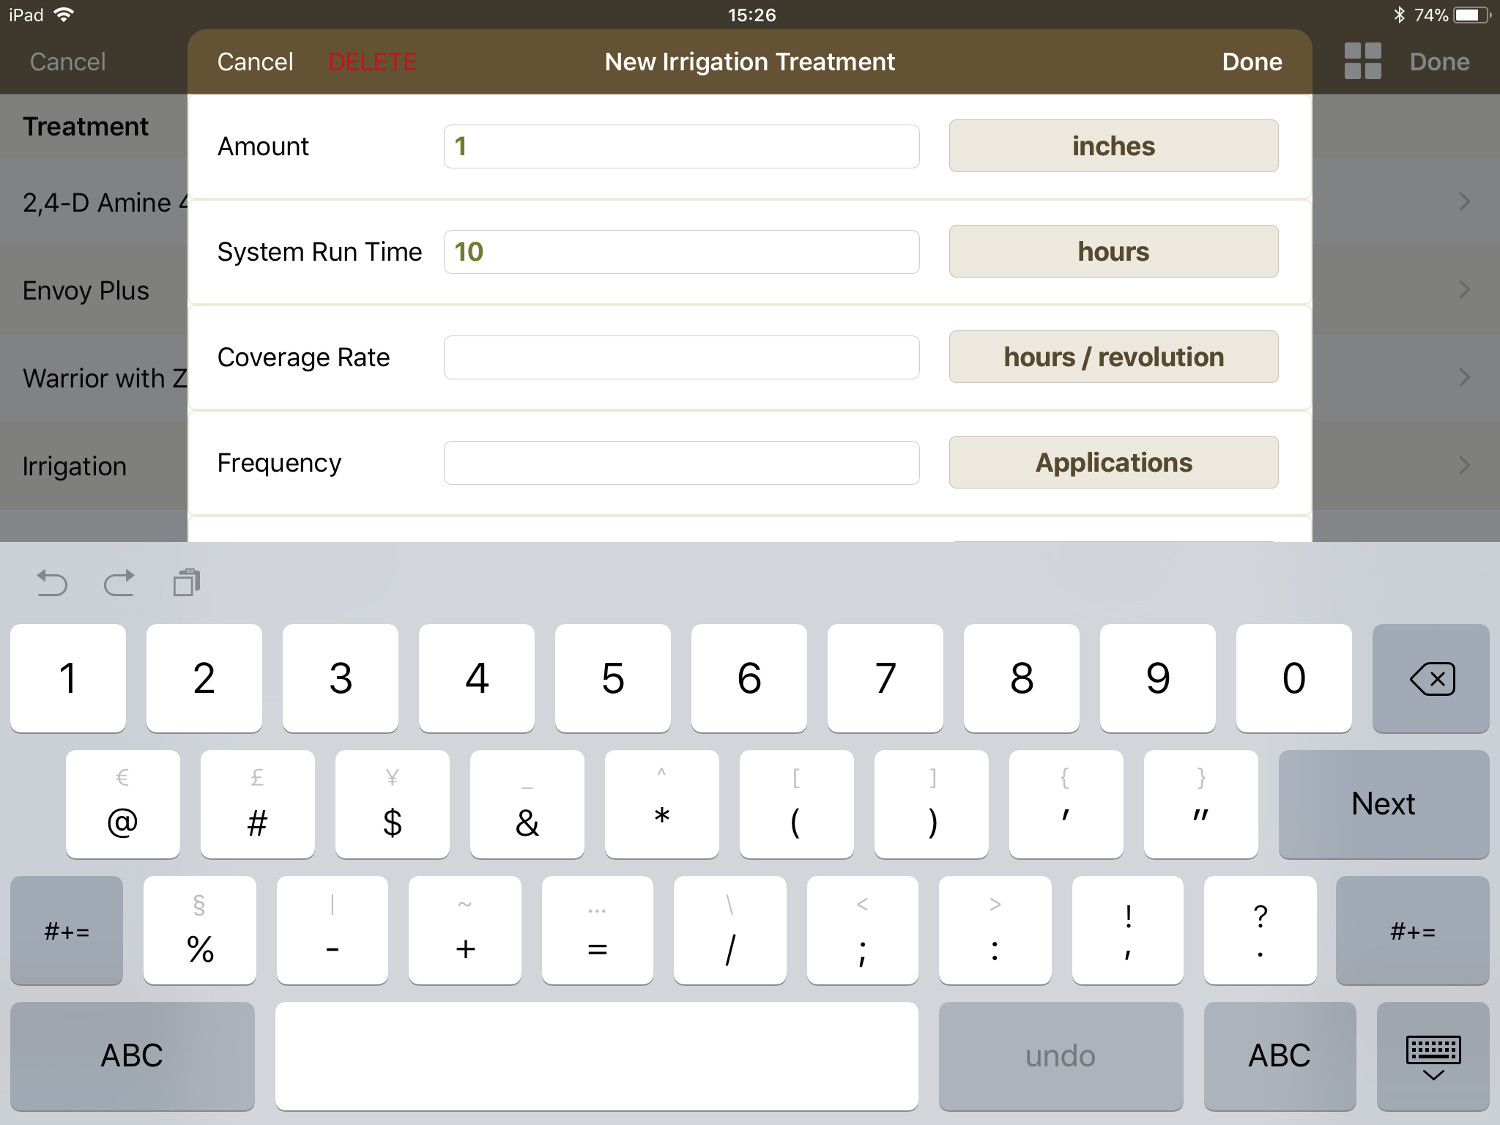
- If the treatment is not pre-filled in your template, you can tap ‘+Add Item’ to add a treatment to the journal entry. Select the treatment type, then enter the treatment details in the popup that opens.
- When finished, tap ‘Done’.
Note: Picklists for Chemical, Fertilizer, Manure, and Field Operation treatments are set up on FieldX Office for the PC.
Reviewing Data
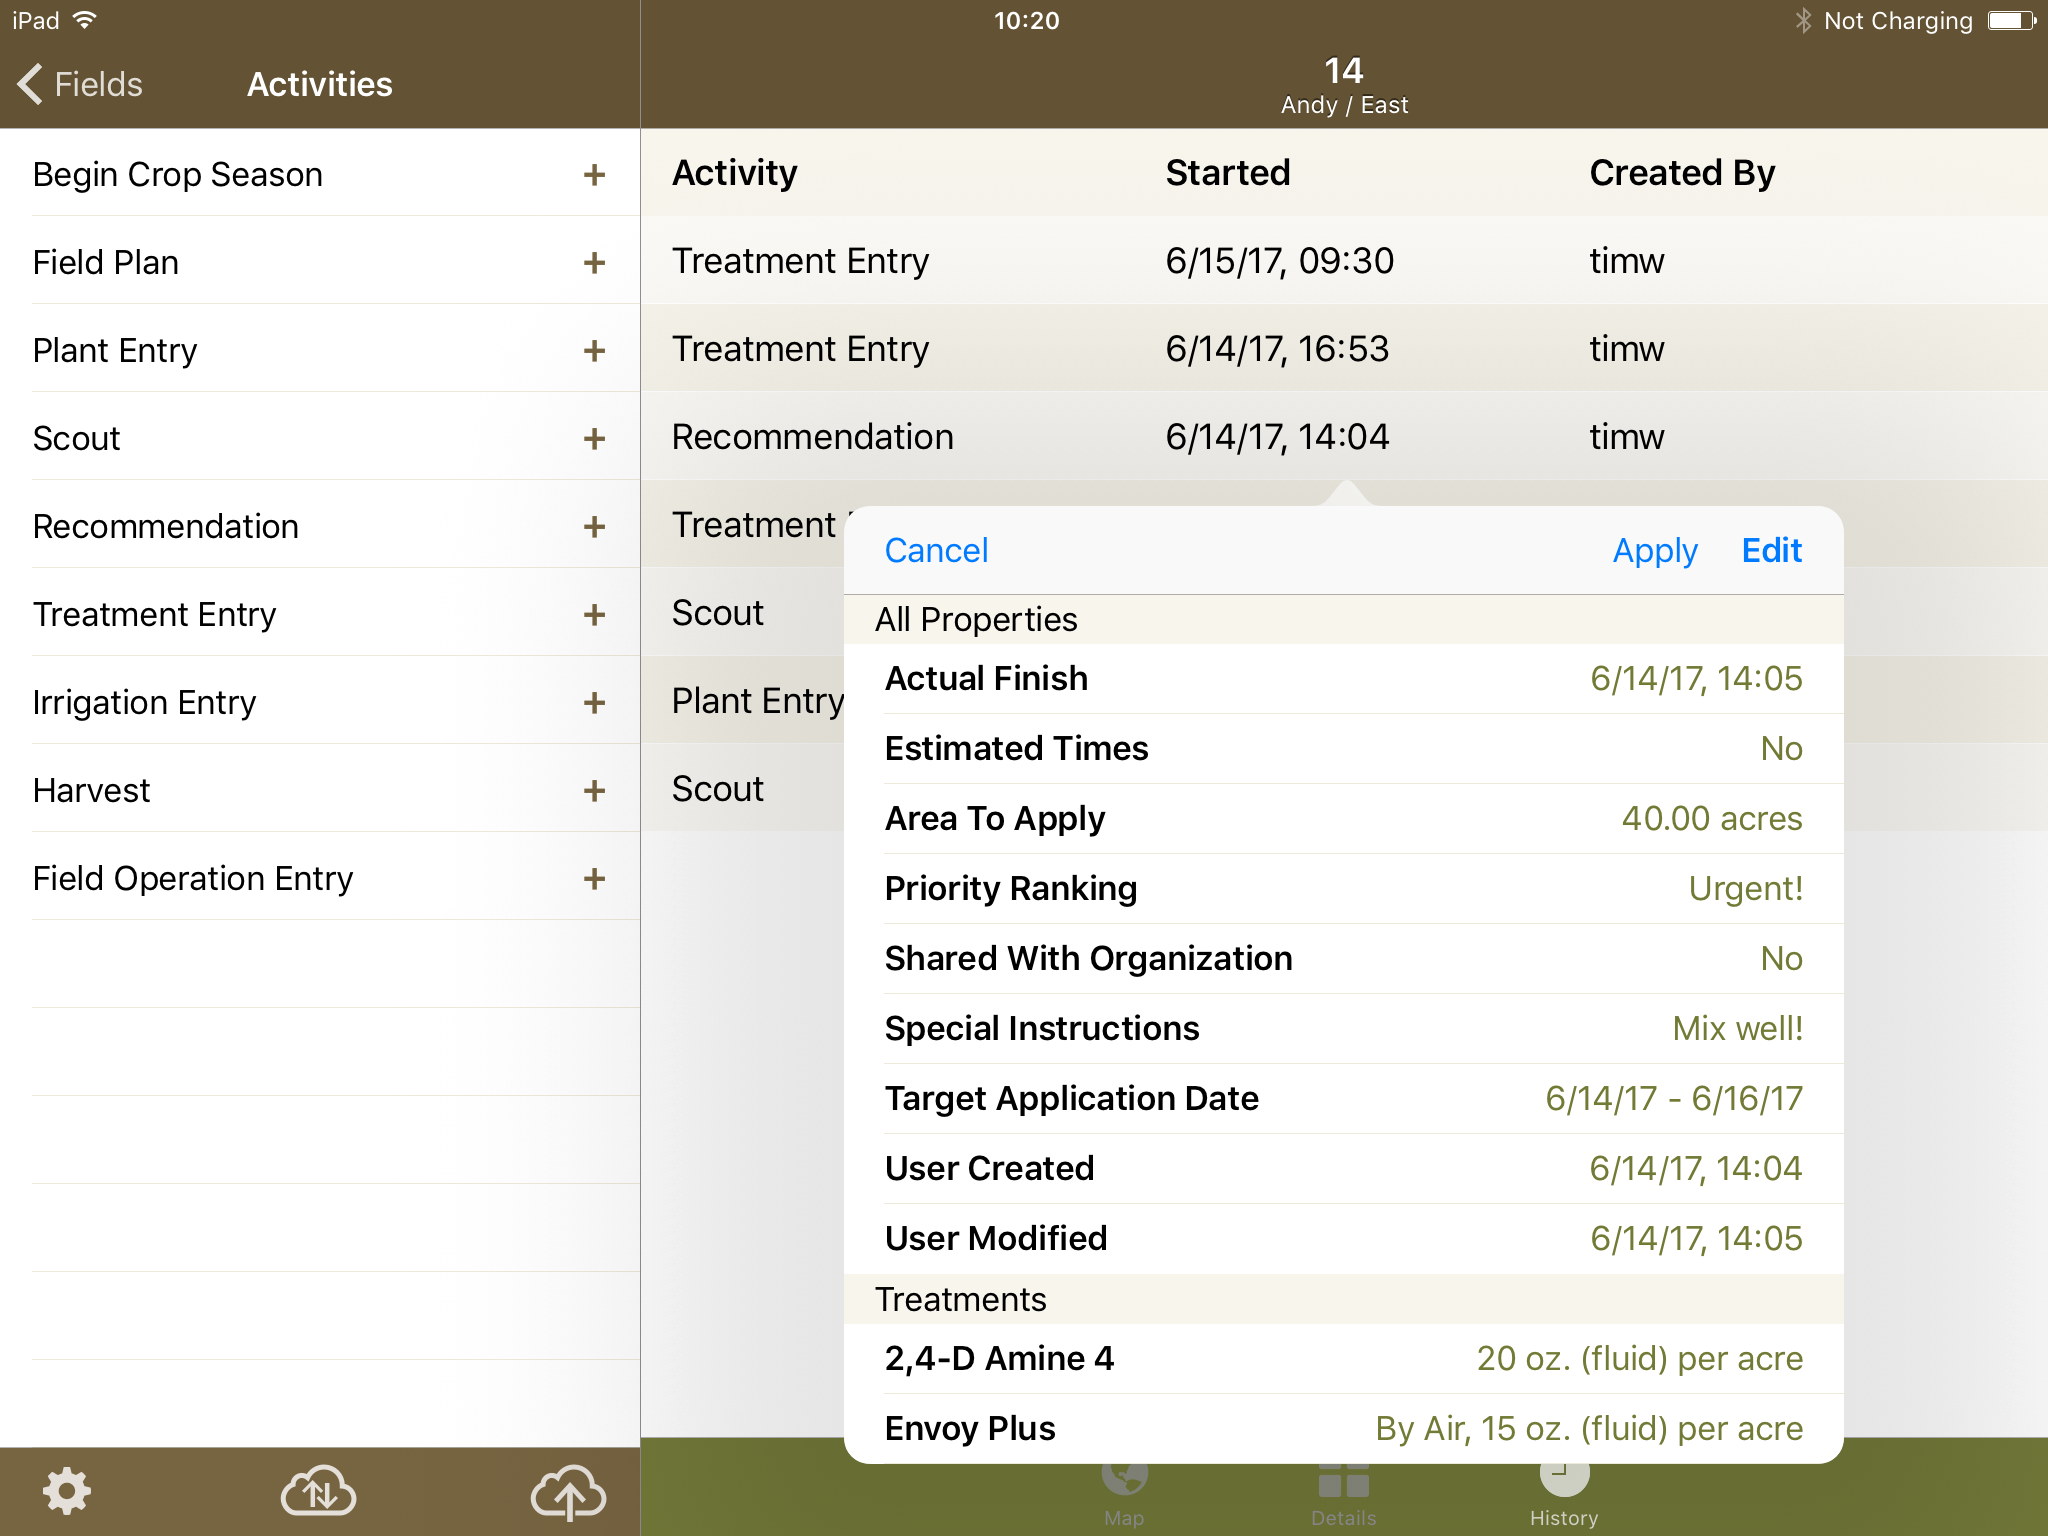
- To review your data, tap on the ‘History’ tab, then tap on the Journal entry to view the Quick-View.
- You can click ‘Edit’ to re-open the journal entry if you need to make changes.
- Then tap on the Upload button, or the Full sync button to send your data to the server.
- Note that you can send a PDF Scout/Recommendation Report directly from the Journal app.
Additional tips:
If you are holding the app in Portrait mode, you can expose the Field list in the top-left by tapping on the list icon.
Inside the journal entry, tap on the arrow icon to expose or hide the journal entry tabs.


